Adding content
Create your Traveltile
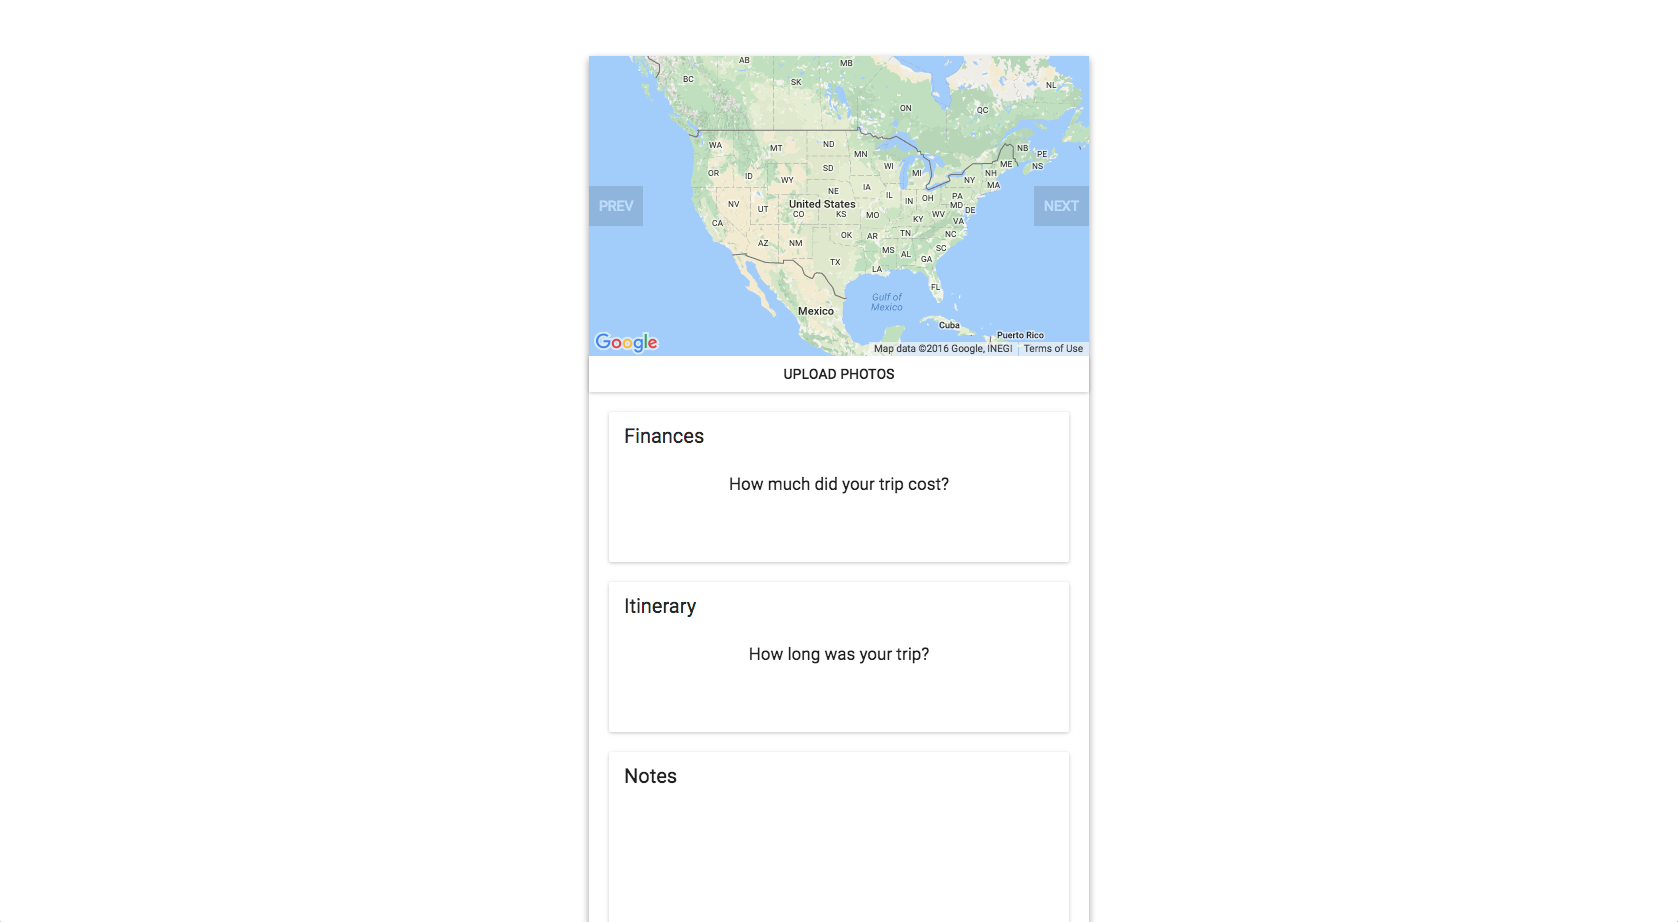
Let’s create a new Traveltile. To begin, navigate from the home screen to the editor window by clicking on the “Build your own tile” button. You’ll see the editor below. The map is currently centered on the United States; the functionality to change this from the GUI isn’t present at this time, but you can alter the centering of the map as well as the zoom level for each individual tile from the codebase. There are also empty cards for your finances, itinerary, and notes displayed along with the option to save your Traveltile to the library or cancel any updates.
Add your photos
To add or delete a photo from your Traveltile, click on the “Upload Photos” button below the map and select an image from your computer. Any photos added will be uploaded and saved in a first-come-first-serve basis. In order to delete a photo from the album, click on the gray “X” in the top right corner.
Add your finances
To add in your own finances to your Traveltile, click on the “Finances” card. It will open up a dialog, with a blank space and five predetermined categorical text fields relevant to travel: Food, Housing, Attractions, Transportation, and Other. Input your values (listed currently as U.S. dollars) into the text fields. The blank space will reveal a dynamically updating chart with the categories you select. You must update the chart before updating the finances of your Traveltile. The application will tell you if you enter in an invalid format in the text field. After you close the dialog, the finance card will update with the latest aggregated cost of your trip.

Add your itinerary
To add in your itinerary to your Traveltile, click on the “Itinerary” card. It will open a blank dialog. Upon clicking on the add button, a calendar card will appear, with an option to enter in a date. Other functionality in the calendar cards has not been built out yet. When you save the itinerary, the itinerary card will update with the number of days your trip takes (calculated as the number of calendar tiles you have created).
Add your notes
To add your notes to your Traveltile, click on the “Notes” card. It will open up a blank dialog card, where you can begin typing. Newlines are saved in the dialog but not displayed in the notes card.
Create or discard your Traveltile
To create your Traveltile, all you need to do at this point is to click on the “Create Traveltile” button. This will route you to the Browser window, where your Traveltile will be located among others that you have created. If you do not wish to save your Traveltile, click on the “Discard Draft” button, which will discard your changes and return you to the main menu. In the demonstration shown below, the functionality to create your Traveltile has been disabled because of usage concerns.